To replace the charging port with a cable for your HP Pavilion DV2000 laptop, you'll need to follow these steps:
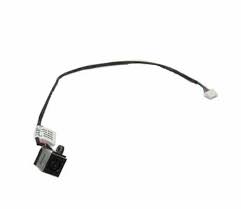
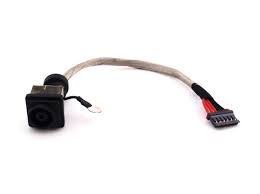
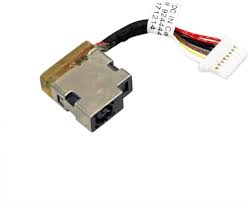
1. **Purchase the Replacement Part**: Ensure you have the correct replacement part. You'll need a charging port with a cable specifically designed for the HP Pavilion DV2000 model. You can search for this part online through reputable sellers or contact HP directly to acquire the genuine replacement part.
2. **Prepare for Replacement**: Power off the laptop and disconnect the power adapter. Remove the battery if possible to prevent any electrical mishaps during the replacement process. Gather necessary tools such as screwdrivers and a static wristband if available.
3. **Disassemble the Laptop**: Carefully disassemble the laptop to access the internal components. Remove the bottom cover of the laptop by unscrewing the screws and gently prying it apart. Refer to the laptop's service manual or online guides for disassembly instructions specific to your HP Pavilion DV2000 model.
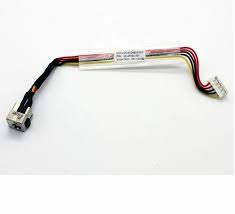
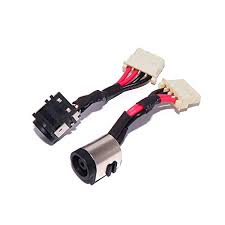
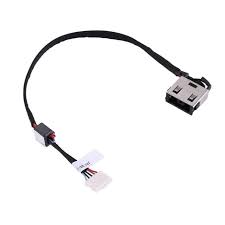
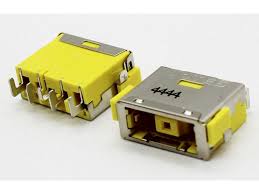
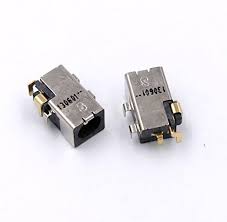
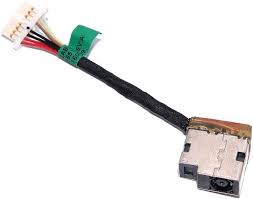
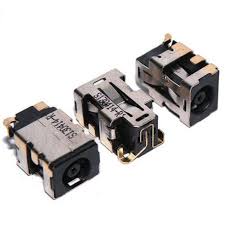
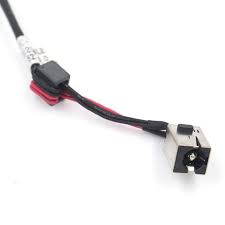
4. **Locate the Charging Port**: Once you've gained access to the internal components, locate the charging port. It's usually soldered onto the motherboard and connected to the laptop's power jack with a cable.
5. **Replace the Charging Port**: Unsolder the old charging port from the motherboard and disconnect its cable. Then, carefully connect the cable of the new charging port to the appropriate connector on the motherboard. Secure the new charging port in place using soldering equipment.
6. **Reassemble the Laptop**: After replacing the charging port, reassemble the laptop by following the disassembly steps in reverse order. Ensure all components are properly aligned and secured.
7. **Test the Charging Port**: Once the laptop is reassembled, plug in the power adapter and test the charging port to ensure it's functioning correctly. Check if the laptop charges without any issues. If everything works as expected, the replacement was successful.
If you're not comfortable performing the replacement yourself, consider seeking assistance from a professional technician or contacting HP's official support for repair options. They can provide further guidance and ensure the replacement process is carried out safely and effectively.