To replace the charging port for Acer laptops such as the 5534 and 5538, you can follow these general steps:
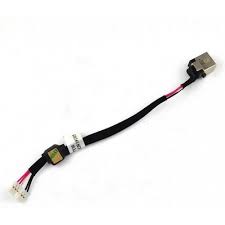
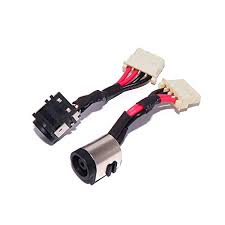
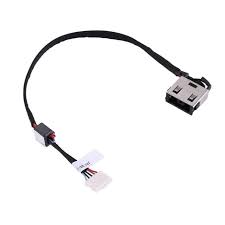
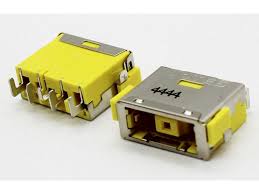
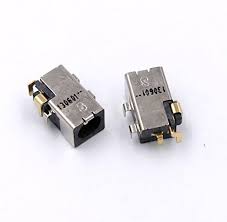
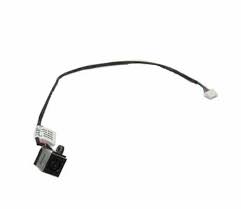
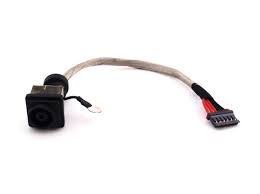
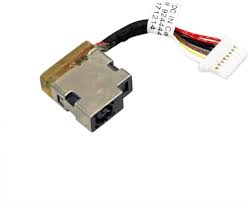
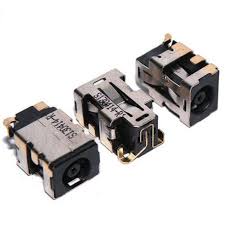
1. **Identify the Correct Part**: Ensure you have the correct replacement charging port for your Acer laptop models. You may need to search for the specific part number compatible with these models. If you're unsure, you can refer to the laptop's service manual or contact Acer support for assistance.
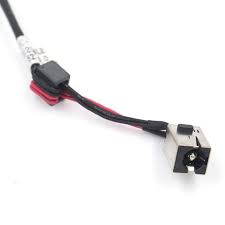
2. **Purchase a Replacement Part**: Search for a replacement charging port compatible with Acer 5534 and 5538 laptops. Look for reputable sellers online or consider purchasing directly from Acer or authorized resellers to ensure you receive a genuine replacement part.
3. **Prepare for Replacement**: Before starting the replacement process, power off the laptop and disconnect the power adapter. For safety, you may also remove the battery if possible to prevent any electrical mishaps during the replacement.
4. **Disassemble the Laptop**: Carefully disassemble the laptop to access the internal components, including the existing charging port. Follow the manufacturer's disassembly instructions or refer to online guides specific to your Acer laptop models.
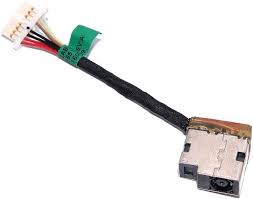
5. **Replace the Charging Port**: Once you've accessed the charging port, carefully disconnect it from the motherboard and any other internal connections. Replace it with the new charging port, ensuring it's securely seated and aligned with the laptop's chassis.
6. **Reassemble the Laptop**: After replacing the charging port, reassemble the laptop by following the disassembly steps in reverse order. Ensure all components are correctly aligned and secured, and reconnect any cables or connectors that you removed earlier.
7. **Test the Charging Port**: Once reassembled, plug in the power adapter and test the charging port to ensure it's functioning correctly. If the laptop charges without issues, the replacement was successful.
If you're uncomfortable performing the replacement yourself, consider seeking assistance from a professional technician or contacting Acer's official support for repair options. They can provide further guidance and ensure the replacement process is carried out safely and effectively.